
Table of contents
Open Table of contents
Prerequisites
Before we begin, make sure you have the following:
NOTE: Remember to select models that are compatible with your system to ensure smooth operation and avoid any lagging.
Install Ollama
You can go to ollama official website Follow the installer for your platform and download it.
To confirm Verify installation use this commad in your terminal
ollama --versionIf you see a version number like this, you’re ready to proceed.
C:\Users\msi>ollama --version
ollama version is 0.15.6
Download a Model
ollama supports several code-focused models
- codellama
- qwen2.5-coder
- llama3.2
- deepseek-coder
Lets say you want pull Code qwen2.5-coder 14B parameter model. you can run bellow command to pull the qwen2.5-coder 14B variant.
ollama run qwen2.5-coder:14bAfter completed Check installed models see if the model correctly downloaded.
NAME                                        ID              SIZE      MODIFIED
qwen2.5-coder:1.5b                          d7372fd82851    986 MB    20 hours ago
huihui_ai/deepseek-r1-abliterated:latest    5ae823b61e22    5.0 GB    2 days ago
qwen2.5-coder:14b                           9ec8897f747e    9.0 GB    9 days ago
If the model correctly downlaoded and configure it show like this.
Test the Model Locally
Before connecting VS Code, check if your model working.
C:\Users\msi>ollama run qwen2.5-coder:14b
>>> Send a message (/? for help)
Try a Enter simple prompt if model working correcly.
C:\Users\msi>ollama run qwen2.5-coder:14b
>>> what is the capital of australia
The capital of Australia is Canberra.
If it outputs correct, your model ready for connect to Continue.
Continue in VS Code
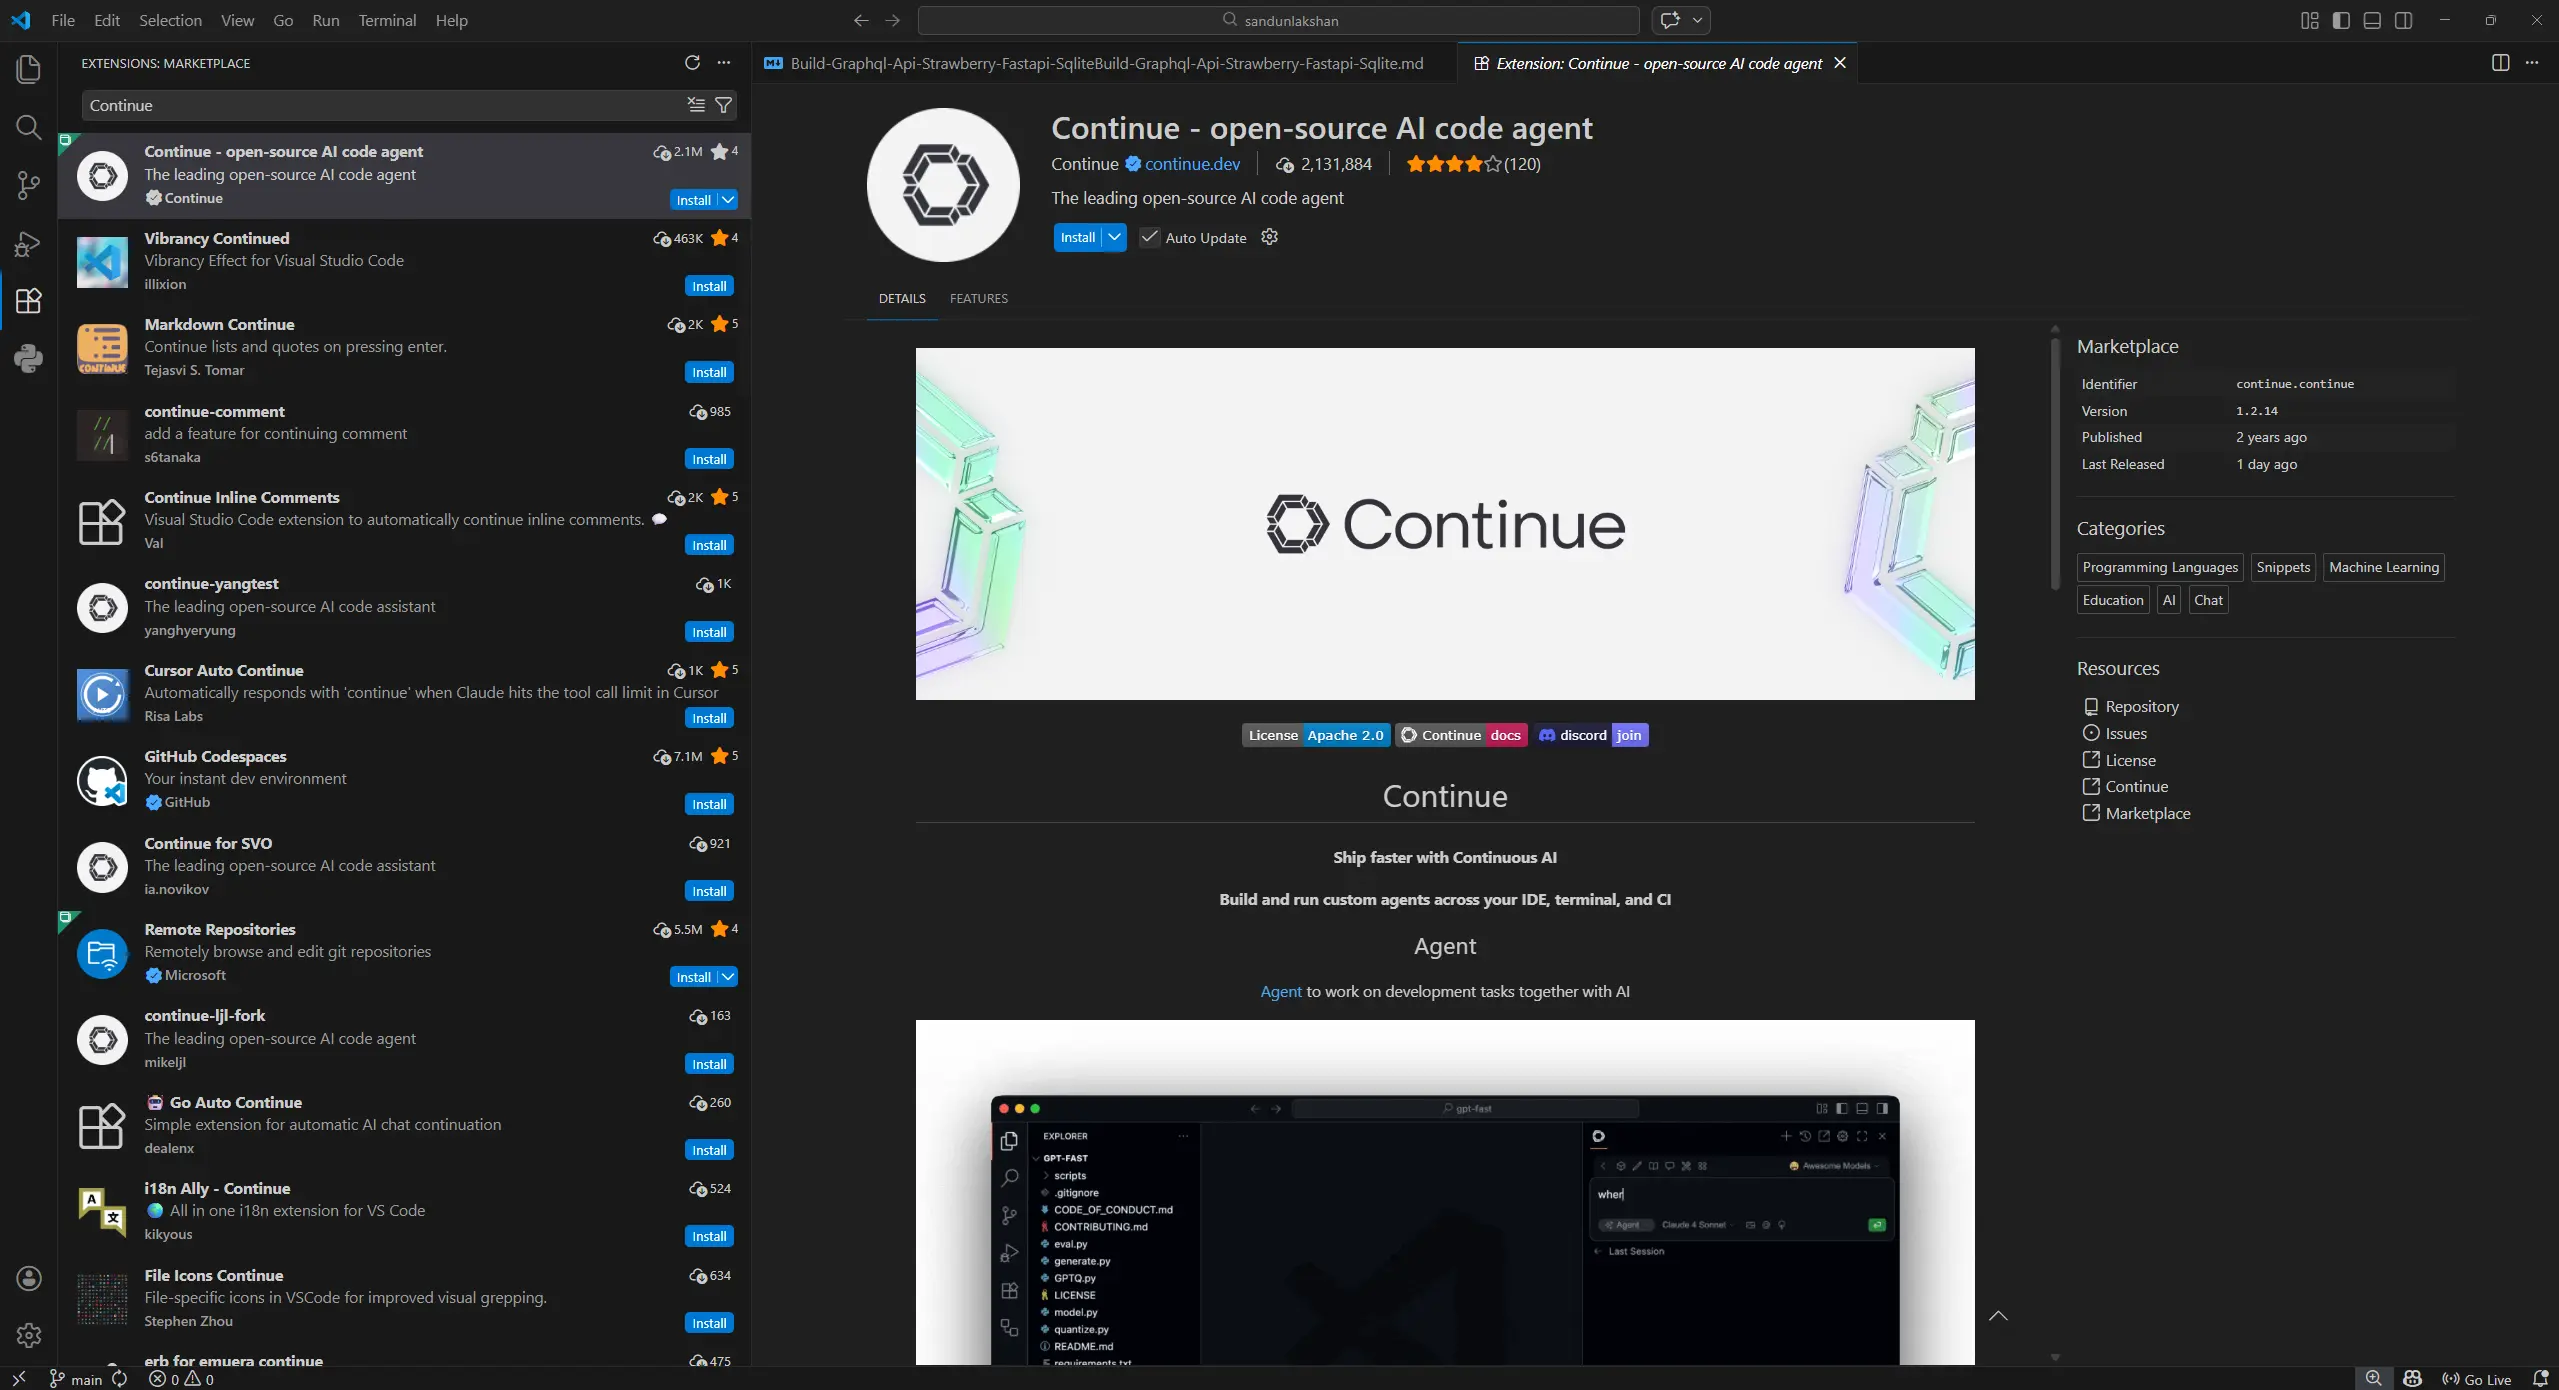
Open Visual Studio Code and go to the Extensions panel search Continue then Click Install.
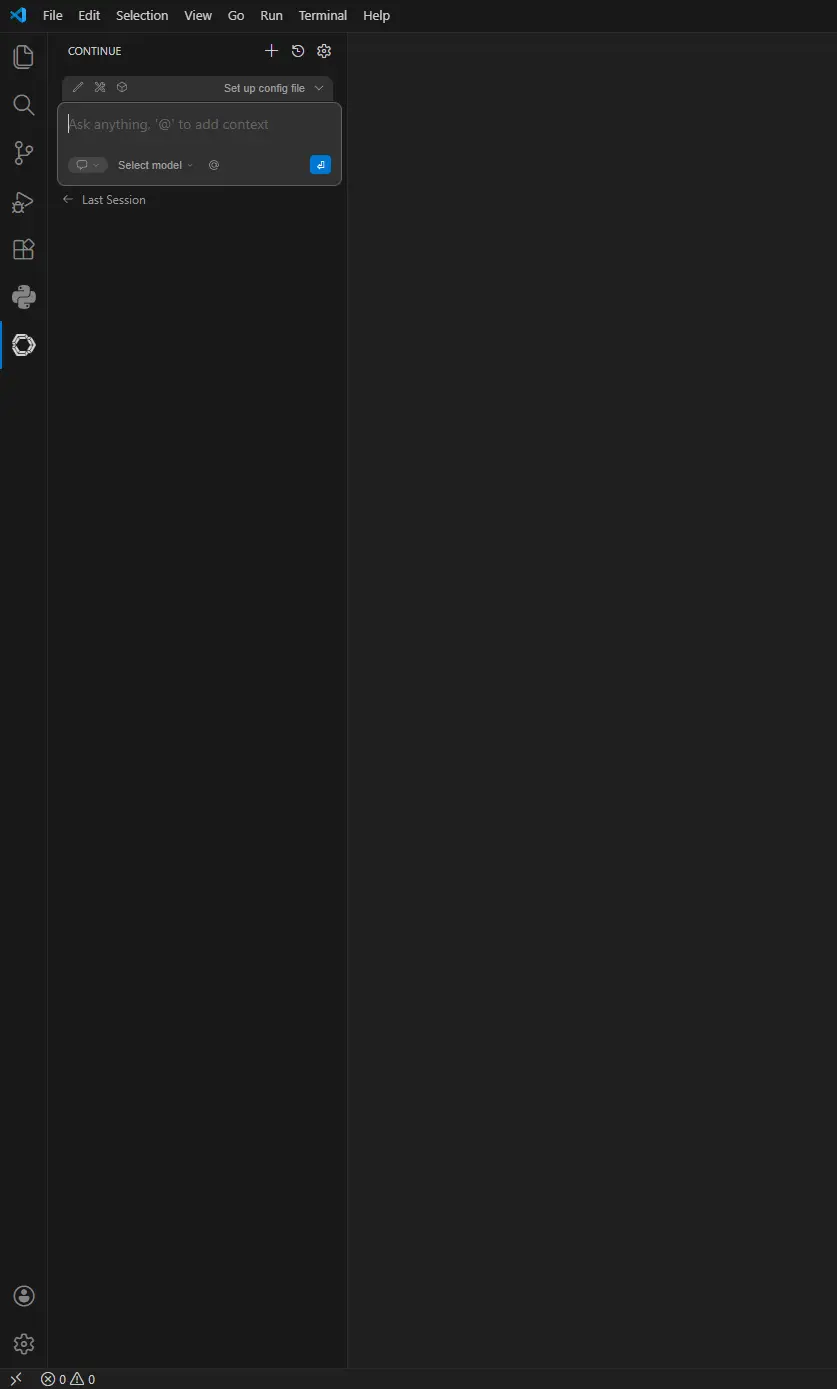
Once installed, the Continue panel appears in the sidebar.
Configure Continue to Use Ollama
Open Continue’s in left side pannel and Click Add chat model and open config file where you can define your models.
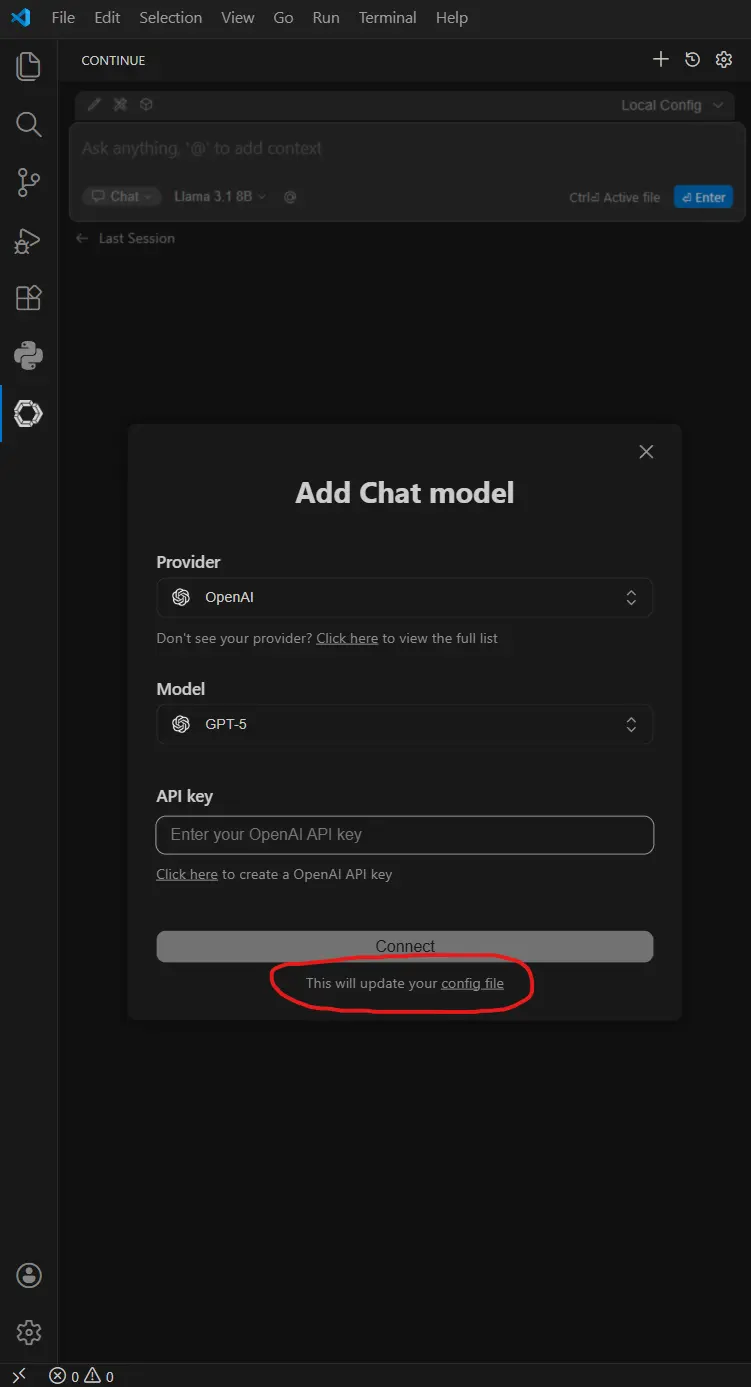
And you need add your models like this.
name: Local Config
version: 1.0.0
schema: v1
models:
  - name: Qwen2.5-coder:14b
    provider: ollama
    model: qwen2.5-coder:14b
    roles:
      - chat
      - edit
      - apply
  - name: Qwen2.5-Coder 1.5B
    provider: ollama
    model: qwen2.5-coder:1.5b
    roles:
      - autocomplete
  - name: Nomic Embed
    provider: ollama
    model: nomic-embed-text:latest
    roles:
      - embed
  - name: Autodetect
    provider: ollama
    model: AUTODETECTconfig.yaml
Save the file once added.
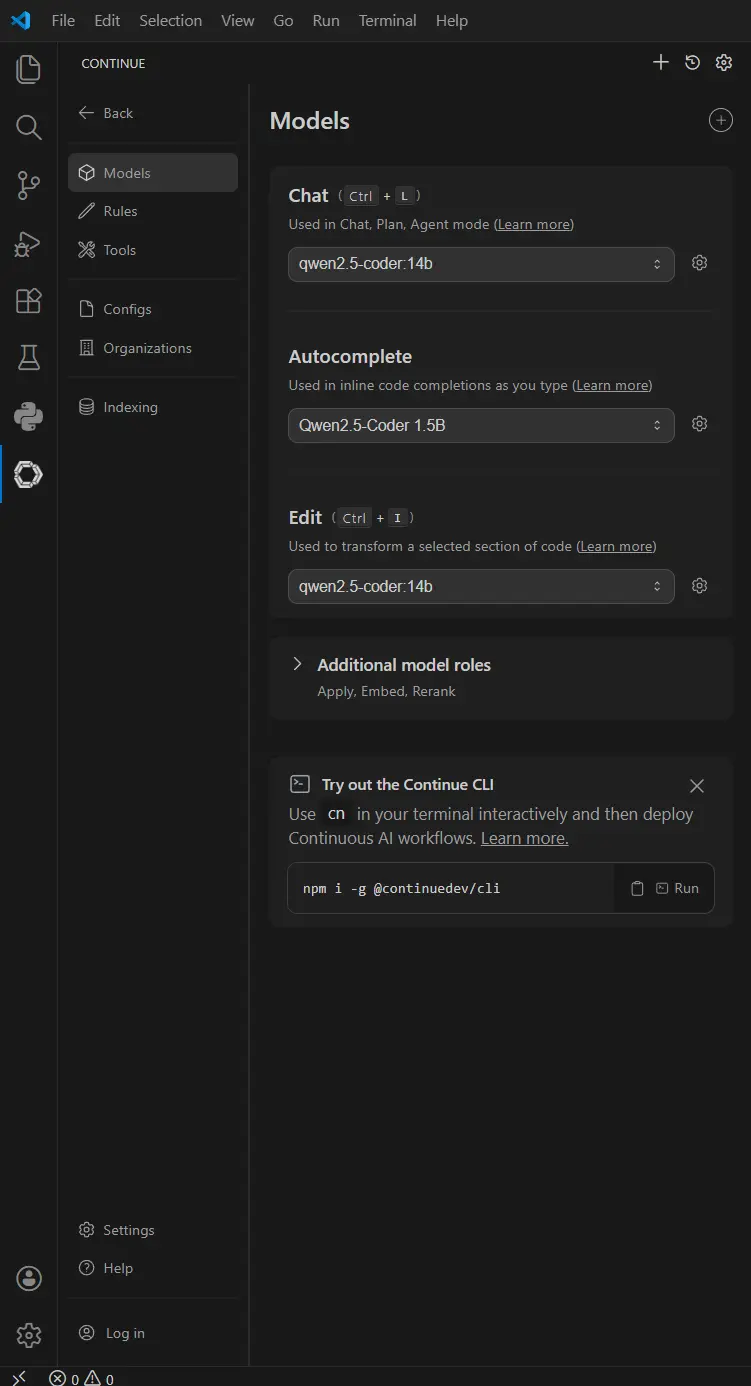
Understanding Model Roles in Continue
Continue doesn’t use a single model for everything. Instead, it assigns specific roles to different models to optimize performance.
As you can see below i am using qwen2.5-coder:14b for chat and code edit. As for auto complete task I use qwen2.5-coder:1.5b.
-
Autocomplete: Uses a small, high-speed model (1.5B) to provide near-instant code suggestions without breaking your typing flow.
-
Chat & Refactoring: Uses a larger, “smarter” model (14B) to handle complex logic, debugging, and deep architectural reasoning.
Restart VS Code and Verify the Setup
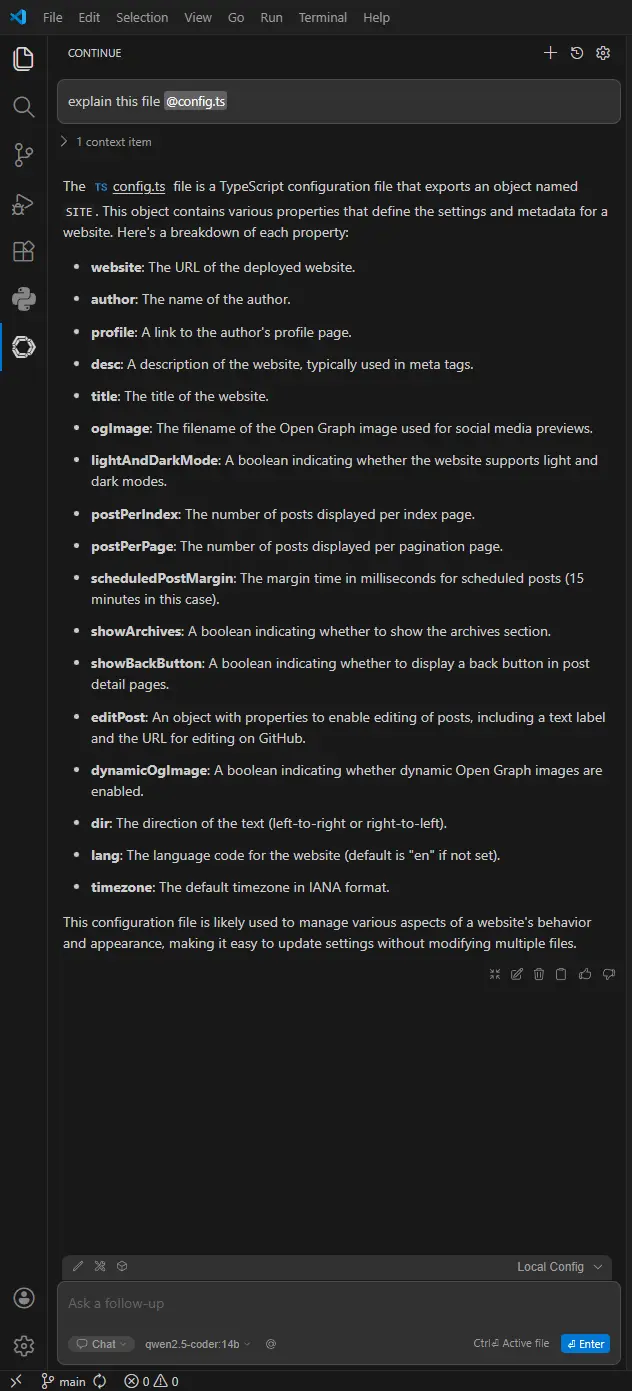
After saving config.yaml Restart VSCode and Open the Continue panel from the sidebar Try ask model question about file or project.
By running Ollama and Continue locally, you gain a high-performance AI pair programmer that respects your privacy and works entirely offline. You now have the power of a world-class coding assistant without your proprietary source code ever leaving your machine.